More photos of the wiring install. The bends in the wiring are where the outlets will go.
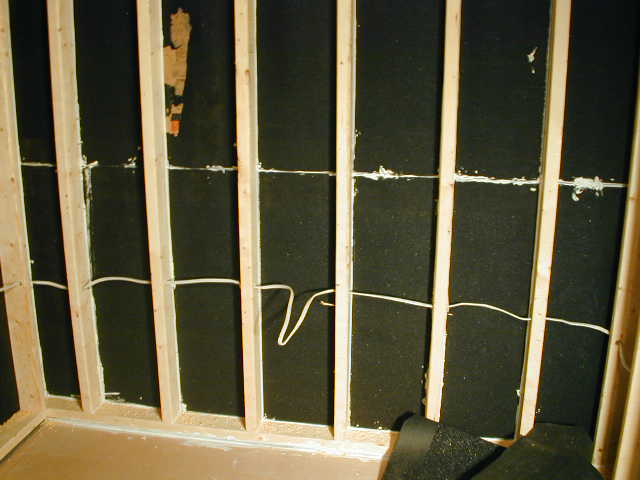
More photos of the wiring install.
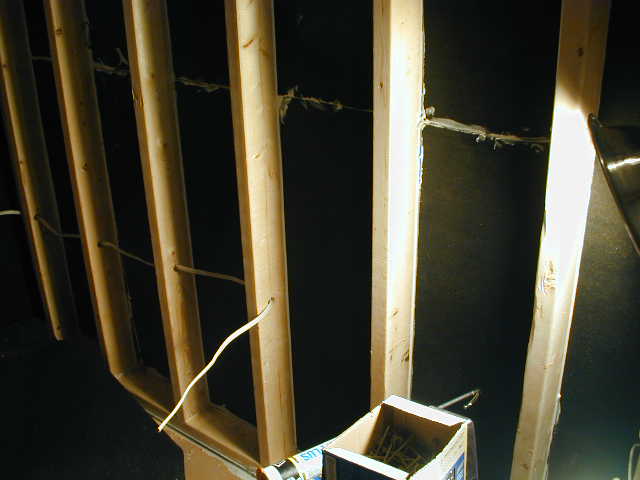
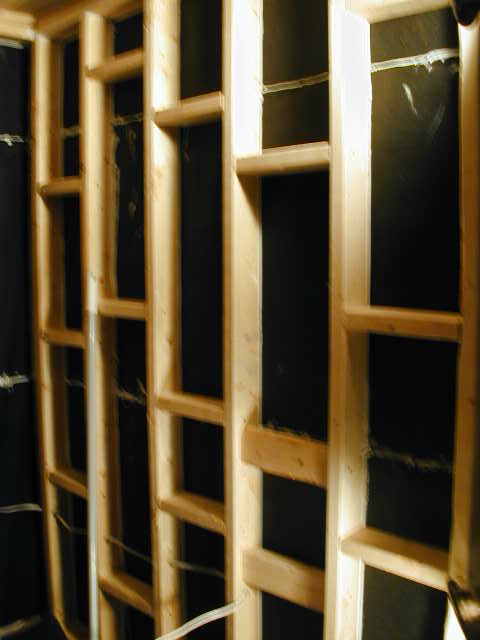
Now the blocking is going into place and being caulked in. Once the inner wall is finished these will be airtight pockets that serve as sound traps. Part of sound isolation is capturing the sound before it gets to you rather than trying to keep it all out, which would be near impossible to do.
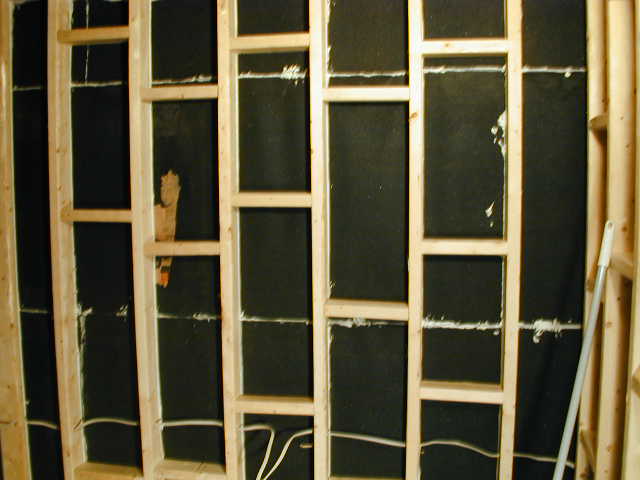
The two blocks that are turned sideways in the photo below were turned like that in the event we wanted to tap into the a/c that comes into the room through the vent behind the booth and run it in. To this point we haven’t found the heart to cut a big hole in the booth we just spent so much time trying to isolate.

Tapping into the house a/c is only inviting noise. Remember… Air? The alternate solution was to pipe a lot of air into the room and that would keep everything cool. The booth can still become a little warm during sessions that exceed an hour or more.
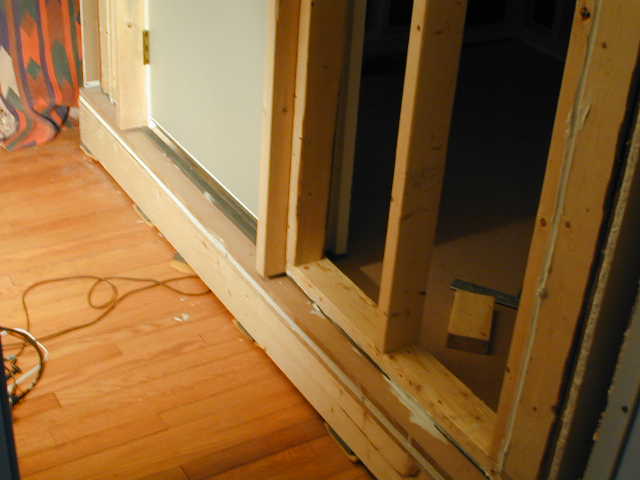
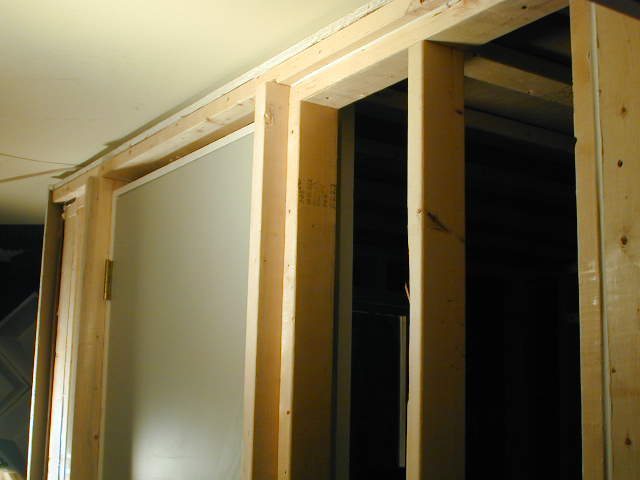
Now we see the installation of the 28-gauge steel, solid core door,
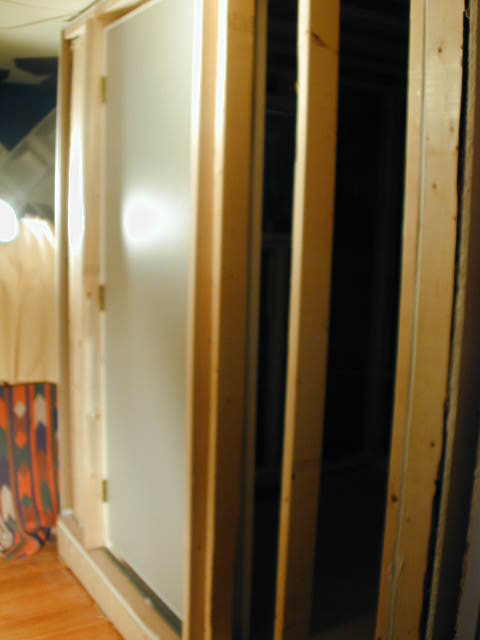
And the relationship it has with the base of the isolation booth. The door is also floated on rubber. Notice we used 2 x 10’s to frame the door. Once the walls were finished both inside and out, they totaled near 10 inches thick. Also at the top of this photo, just over from the bottom left corner of the door you can see the inset of the wallboard, which was cut to accommodate the wallboard that would go on the door-side of the booth during finishing. The importance of precise measurements cant be stressed enough here. You can also see that every crack has been sealed up.
One thing we noticed during the door install was the door resonated while we were talking next to it. So it got a coat of the same closed-cell we used to float the booth to dampen its tendency to vibrate during speech, which would have stunk, but wouldn’t have been the end of the world if we noticed it later on.
Here is a shot of the outside of the window. We finished it with old ash. You can also see the hastily done mud work that had to be redone once it was dry.
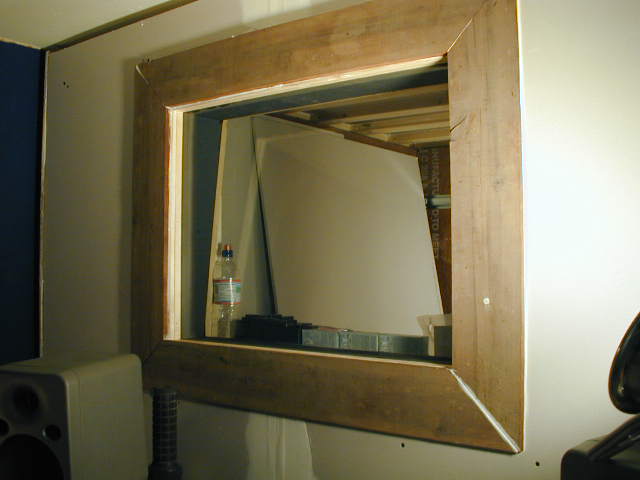
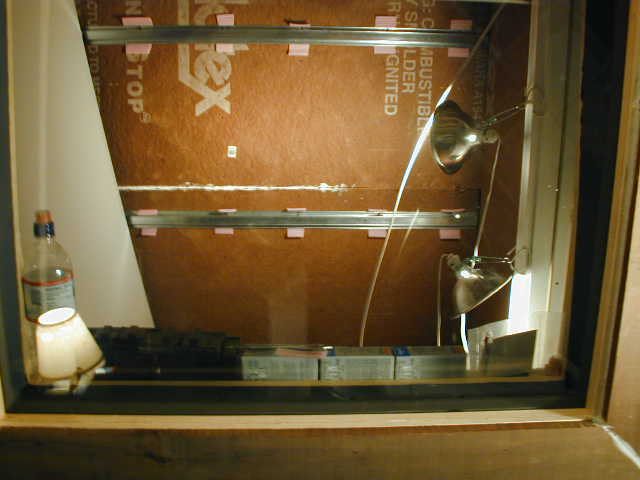
This is a look inside the window. You can see the wallboard going up inside the booth and the channel hat/ sound stop wall waiting for the final layer. Continuing to follow the same process all the way through the project is what made the sound isolation booth as quiet as it is. -80dB is the minimum we can get out of it. If we really wanted to get scientific about it we could probably come up with a better figure, but at the number you don’t need it much lower.
Continue (page 2) (page 3) (page 4) (page 5) (page 6) (page 7) (page 8) (begin at page 1)

Leave a Reply