Now that all the electrical was in we were ready to start working on the pass-through for all of the audio cables. We opted to use complete cables at this point for the pass-trough rather than solder a pass-through fixture together and put it in place. At the time we couldn’t find a pre-fabricated one that we liked and quite honestly we didn’t feel like waiting and had the extra money to throw at a bunch of cables. They were just easier to deal with, wouldn’t break inside the wall and aside from being somewhat impractical, went right in the wall with little effort.

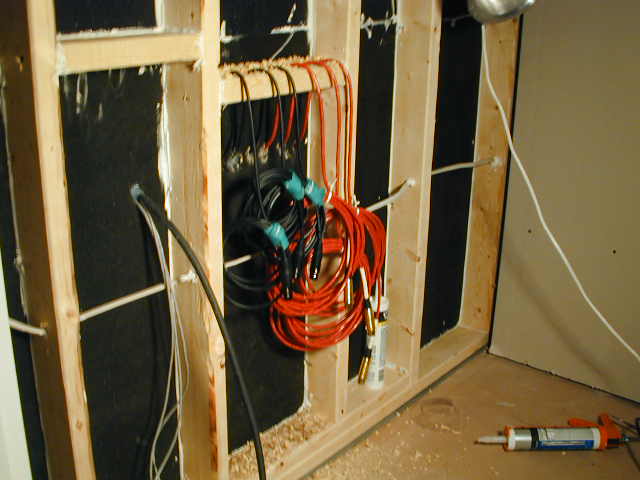
You can see that we brought them in low, then raised them up through a piece of blocking and caulked them in with clear silicon. This way, if we ever decided to remove them and put in a more traditional pass-through, we wouldn’t have a bunch of cables with sloppy white caulk all over them.

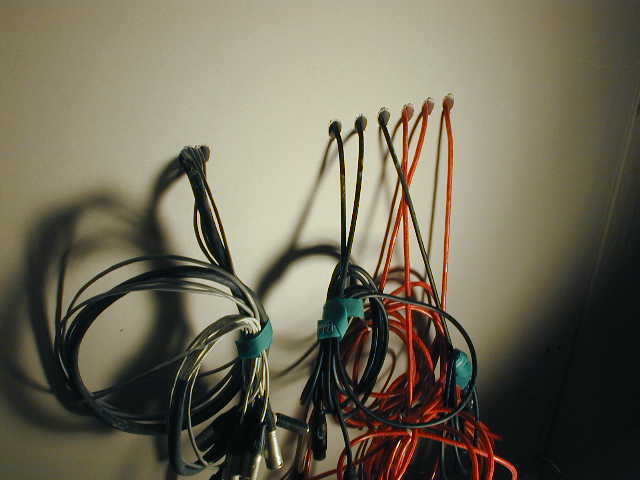
Here you can see we installed 6 Monster and Blue XLR to XLR microphone cables, an 8-piece XLR to 1/4 inch TRS snake and two headphone cables. It was complete and total over-kill, but then again so was everything else.

The completed pass-through ready to be rocked up.

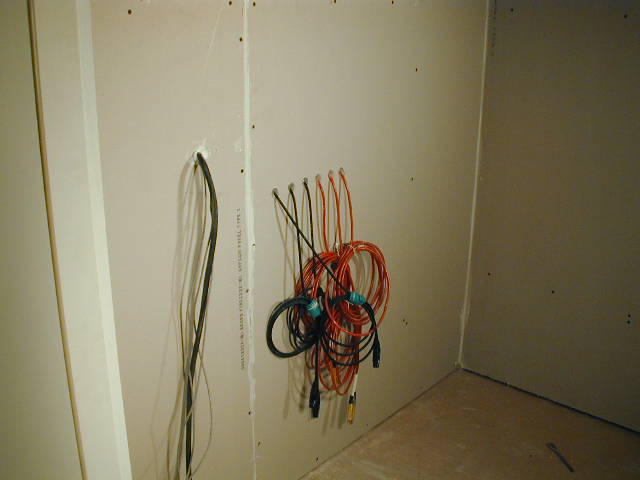
This is the wall after the first layer of sheetrock, everything is caulked and sealed.


Then a shot of the wall after another layer of channel hat and another section of wallboard hung perpendicular to the first.. Then some more silicon. If you haven’t seen the pattern yet, multiple steps repeated with the same calculation and precision over the course of the project. That was our insurance that this sound isolation booth would work when all was said and done.

Continue (page 2) (page 3) (page 4) (page 5) (page 6) (page 7) (page 8) (begin at page 1)

Leave a Reply