Going back a bit, we can see just how thin the ceiling was when we first hung it up. Part of the reason for constructing like this was to add as much interior space as we could while still being able to insert more dead air spaces between the outer sheetrock and the inner ceiling height. This is where it gets a little tricky, because every decision we made along the way now effects how tall a person can be before they outgrow the booth. Every extra layer we install is one less inch available to a talent or recording client. We also wanted to accommodate a stand up bass in the event we needed to. We had acoustic instruments and voice over talent in mind during the initial design process, not basketball players.
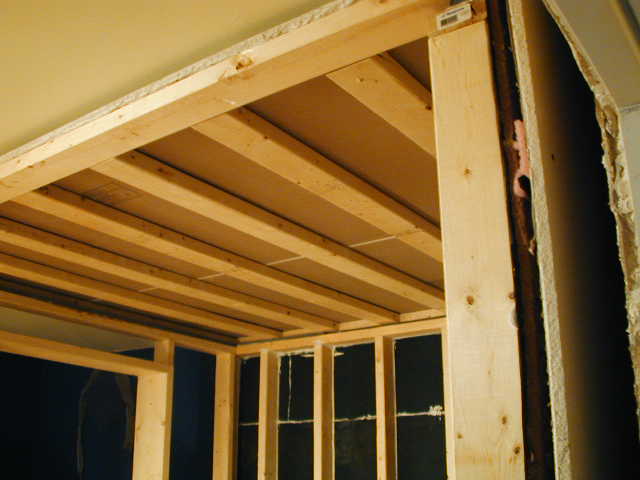
So we started with this bare element, installed 4 perpendicular rows of channel hat, another layer of sheetrock (all the rock used in the project was 5/8 inch.), then another run of channel hat…
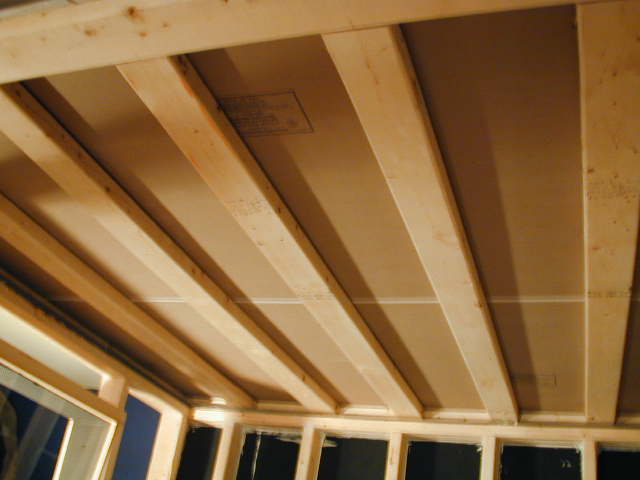
and we were left with this.
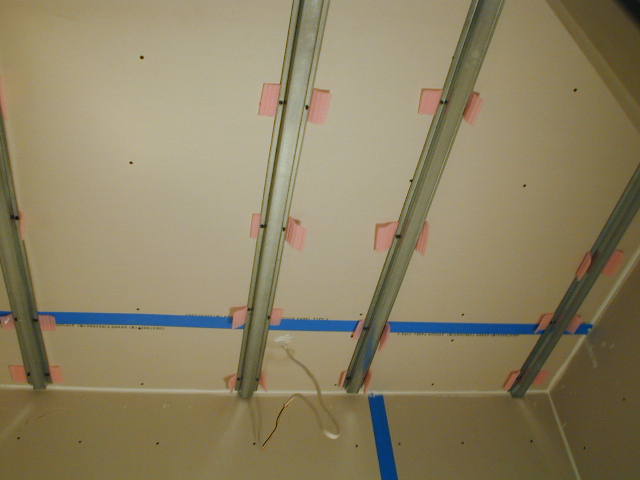
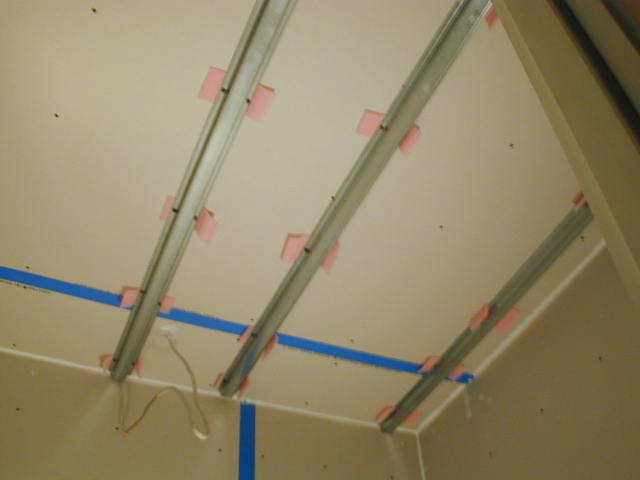
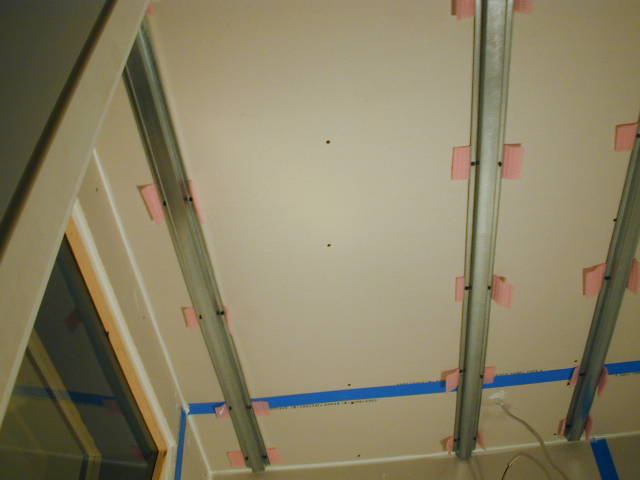

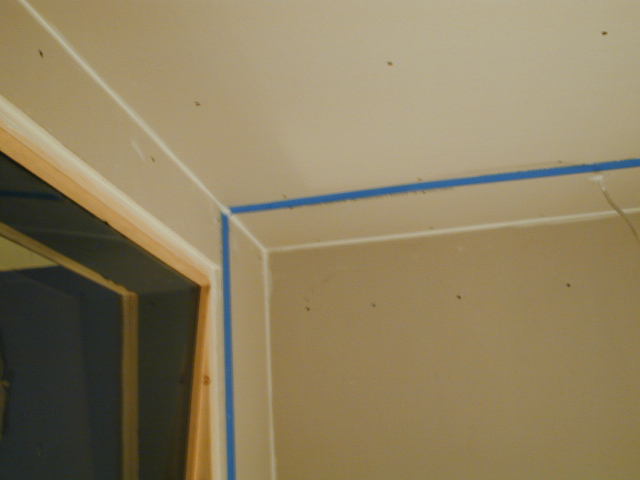
The final layer of sheetrock was applied to the isolation booth ceiling. We were able to make the factory edge abutments on the far side of the ceiling under that strip of blue tape. We covered the cut edges when we finished the door-side wall, which was last to be finished and wasn’t shown in any of these photos.
Continue (page 2) (page 3) (page 4) (page 5) (page 6) (page 7) (page 8) (begin at page 1)

Leave a Reply