The first wall is being framed up. Notice we didn’t work on the traditional 16-inch center but opted for a closer 12 to 14 inch center so we could build more closed air pockets into the wall with blocking.
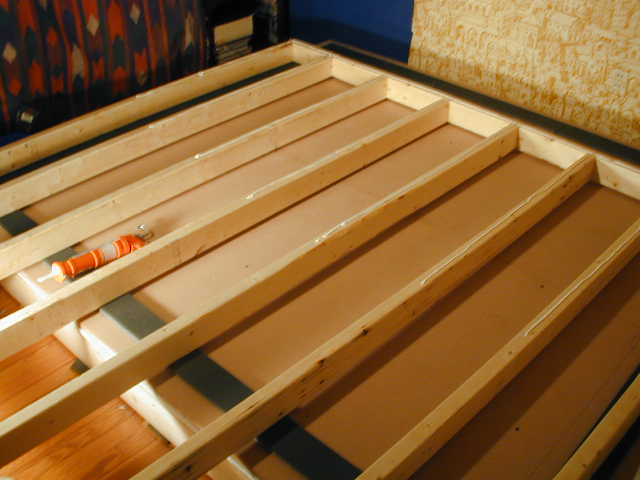
Once the wall was framed, it was covered with a layer of roofing asphalt. The asphalt is extremely heavy and very dense which when it comes to bang for your buck in the realm of sound absorption, it cant be beat. The roll was 36 inches wide so the layers were overlapped, and the rest was trimmed from the top.
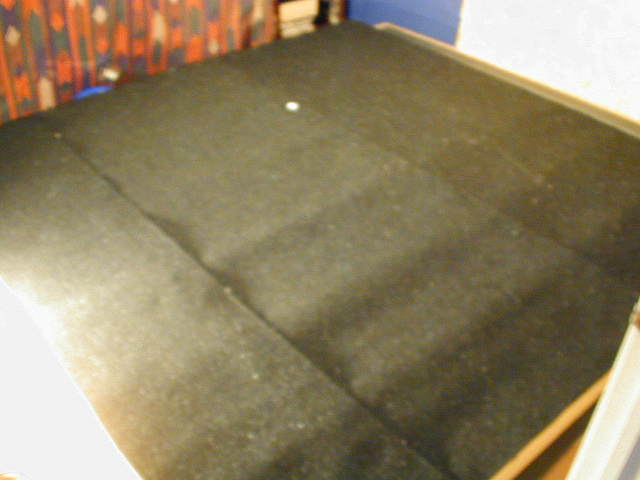
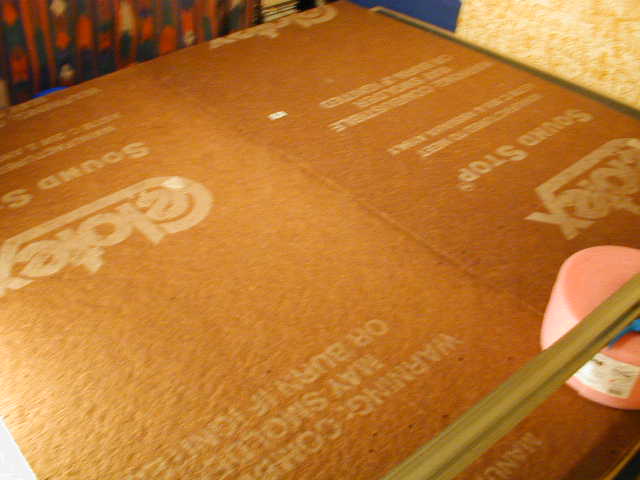
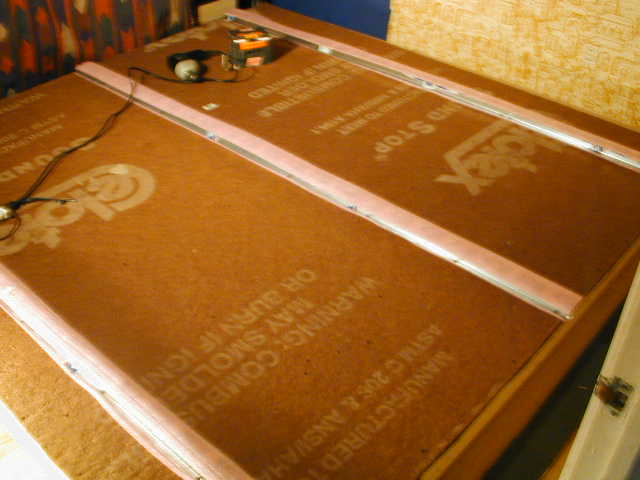
Then a layer of Celotex Sound Stop was laid over that. It is the poor man’s rock wool. Rock wool is much thicker, more dense, and at this point was out of the price range. Sound Stop is awful to work with. The splinters and the dust are almost unbearable and it must be cut outside and brought in. Goggles and a mask are a must. Don’t even try to cut it in the house. That aside, it does what its name says, just to a lesser extent than more expensive alternatives.
Then came more layers of differing material. This time it is channel hat; mounted to the wall with a layer of closed-cell rubber insulation in-between. The rolls of this kind of “pink stuff” are dirt-cheap and serve as yet one more buffer to dull sound transmission between elements of the structure.

The channel hat, which is made from lightweight sheet metal, is what the outer layer of drywall will finally hang on. When the drywall was hung on the channel hat care was used to select the right screw length for mounting. Drilling through the channel hat and into the wall defeats the purpose of the channel hat altogether. Also, the metal is thin enough to strip easily so you have to use just the right amount of pressure to seat the screws, but not over-turn them.
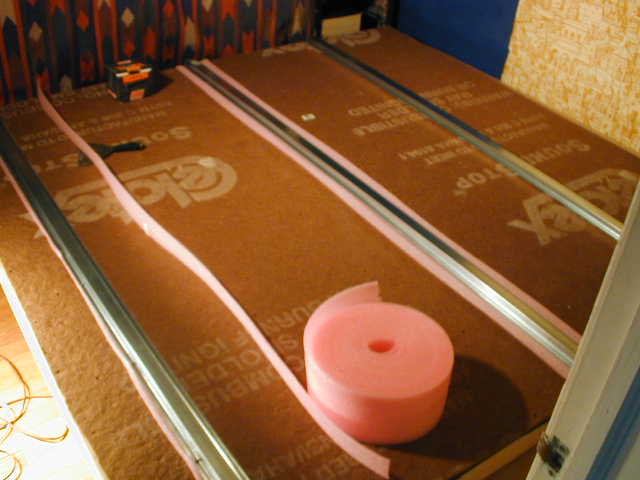
This is the channel hat with another layer of the rolled pink stuff applied to the surface. This will be the surface between the channel hat and the outer layer of 5/8-inch sheet rock. What you are seeing is the wall being built in place – lying on its side. In the following photo, the wall has had the sheetrock installed, the sheetrock was compounded and taped, and the wall was stood up and slid into place on the sill plate float.
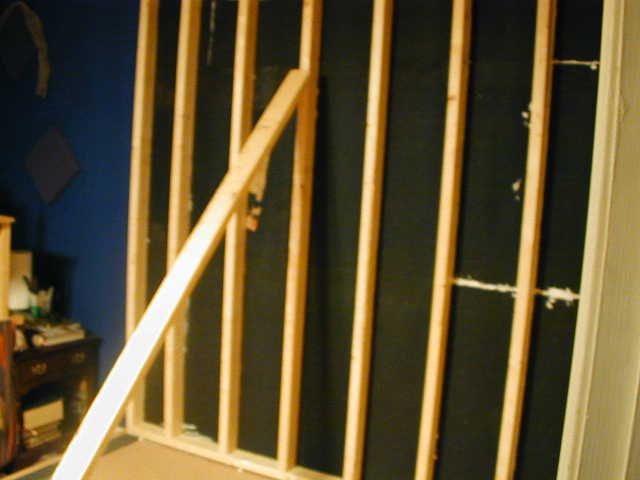
Below is a photo of the next wall almost completed and ready to be stood up and put into place. Prior to it being slid over to contact the other wall, the outer edge of the drywall was coated with a thick bead of caulk. The drywall was cut so as to meet the other drywall surface at the rear corner of the booth. Because this corner was inaccessible, a lot of effort was made to see to it that the seal was sure. There would be no second-guessing later on. If you look at the first wall you can see that all of the inside seams between the 2 x 4’s and asphalt were also caulked. Every last nook, crack and cranny must be caulked up tight.
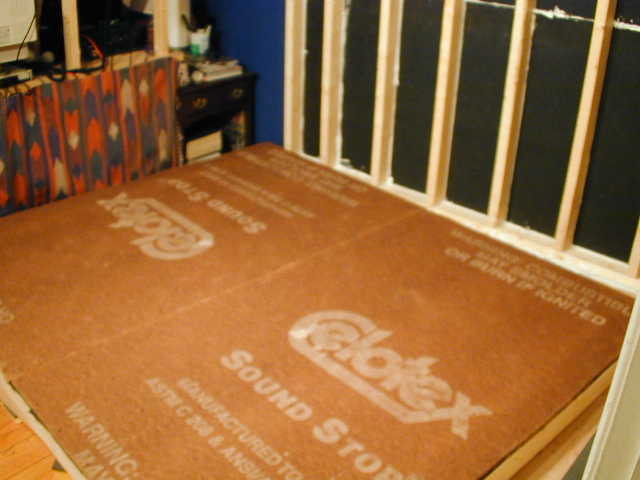
The seal between the base of the booth and the bottom of the wall that went along the both walls of the room were also over caulked so they would be airtight. All of the wallboard was cut so it would be short of contacting the base of the booth. As you can imagine, measurements needed to be highly accurate to get all of the elements of the booth to puzzle together without touching one another, yet not be so short there were oversized gaps all over the place. This method is tricky, but very do-able with patience and high quality tools and materials.
Continue (page 2) (page 3) (page 4) (page 5) (page 6) (page 7) (page 8) (begin at page 1)

Leave a Reply