How to achieve a -80dB noise floor in your recording environment.
When I set out for the design of the studio isolation booth at my studio, I had a few things standing in my way. The first was the overall size of the room where the isolation booth would go, the other was how to tackle the acoustic issues presented by the dimensions of the booth, which of course were mandated by the size of the room. Acoustic foam to the rescue. The final issue was the complete sound isolation of the recording and control environment, which was subject to all of the openings in and around doors and old windows.
The room was roughly 11ft wide x 14ft long x 8ft high, your basic room in any house. The windows were old casement windows, with gaps in them even when they were locked, which means they had to be remedied. The door entering the room was a standard, old hollow core with a gap an inch high off the floor. That would have to go too.
The booth would have to be a semi-square design, which would automatically have acoustics people biting their nails and throwing tomatoes at the screen. Recording environments with directly reflective surfaces are a no-no because of standing waves and room reflection. There should not be, if at all possible, any two surfaces of the room that directly face each other; all most preferably would be at odd angles in relation to one another. For us we just had no other option, and would not have to contend with 2 but 4 surfaces – all within 6 or so feet of each other.

So we started with the bottom framing of 2 x 6’s. We used 2 x 6’s because we wanted a more stable platform for the booth, which would ultimately end up weighing near 1500lbs. There was some loss on the interior height because of this, but it was compensated for later in the design. You will see it in later photos.
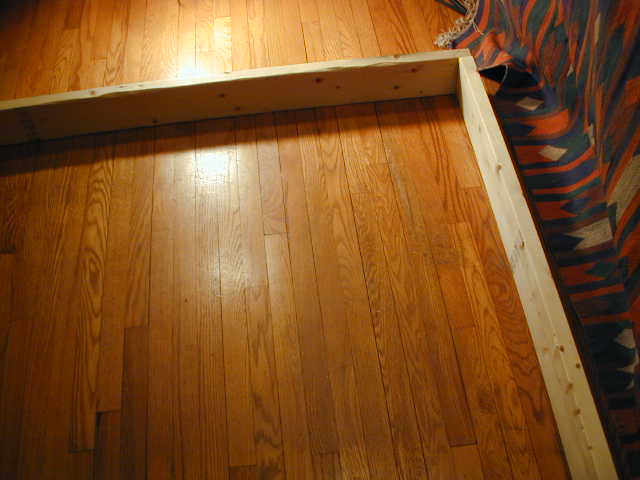
Once we squared the frame, we set the joist hangers at randomly placed measurements, installed the joists and followed with the blocking. The purpose behind the staggered joist placement and blocking is to create as many pockets of varying sizes as possible. The pockets serve as traps and resonators for different audio frequencies. Their trapping effect is somewhat diminished because they aren’t completely sealed, but they do provide some extra absorption and if they are going to be buried beneath the booth for eternity, why not have them there.
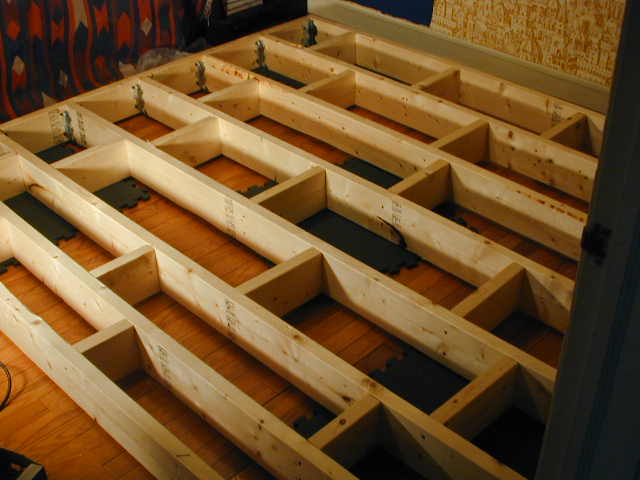
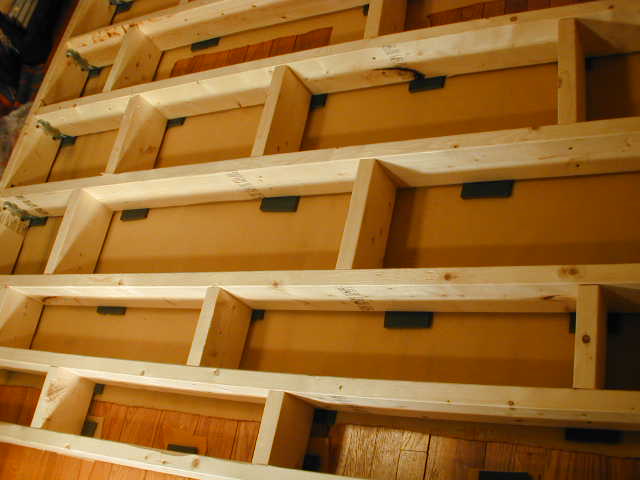
Also notice that the frame is placed on interlocking-closed cell, rubber fiber matting – completely suspended above the floor. At no point does the frame, or the entire booth for that matter, come into contact with the structure surrounding it. It is floated on these mats to keep it from contacting the floor and absorbing vibrations from the house as it vibrates it’s way through life. In the following photo you can see that we cut the mats into smaller pieces and spread them around to various areas to once again spread any concentration of vibration around, rather than have any one large surface in contact with the floor. The material beneath them is just regular carpet padding to keep them from interacting with the hardwood floors over time.
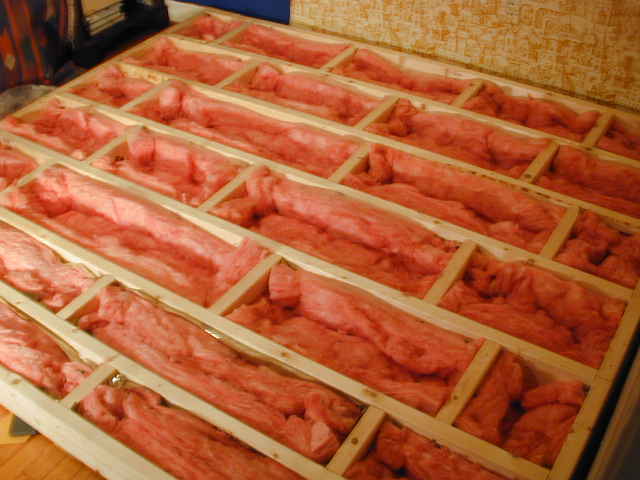
The pockets were filled with regular hi-density pink insulation just to add some extra dampening. “The Pink Stuff” as it is known, is not very effective for sound isolation or its dampening features when compared to products like Sound Stop or rock wool – but we had it sitting around and thought we would toss it in there rather than have nothing in the pockets. After all, in a while it would be a little late to start wishing we had put it in.
The base was sealed with a layer of half inch particle board…
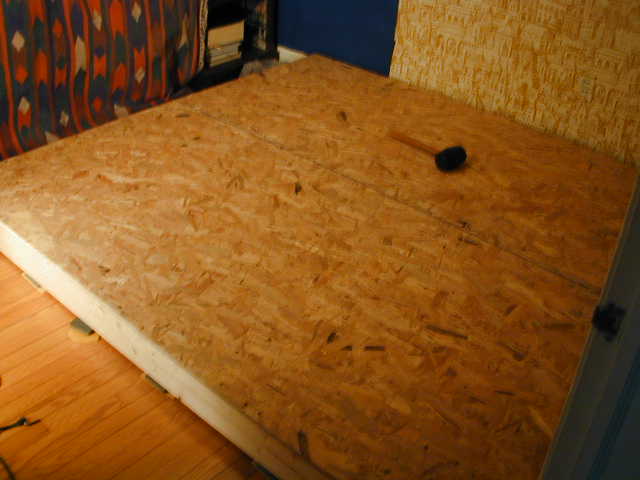
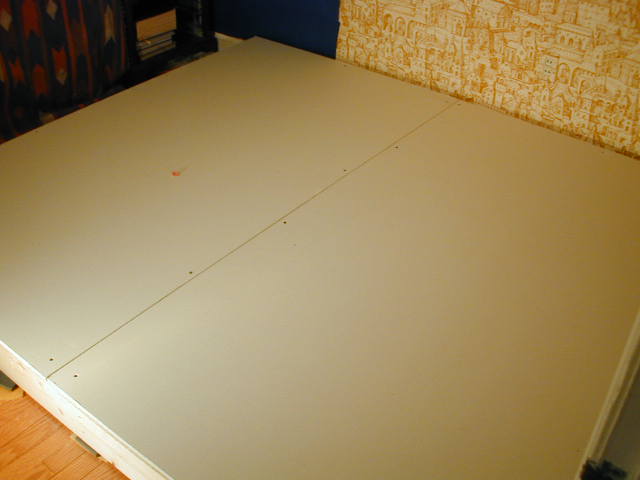
Followed by a layer of 5/8-inch wallboard or drywall – then a layer of 5/8-inch MDF. Each set of boards was laid perpendicular to the first so there wasn’t a continuous seam coming up through the floor. We only ended up with a little hole in the middle. This was patched by applying a strip of joint compound and tape between the drywall/MDF layers. That step wasn’t photographed.
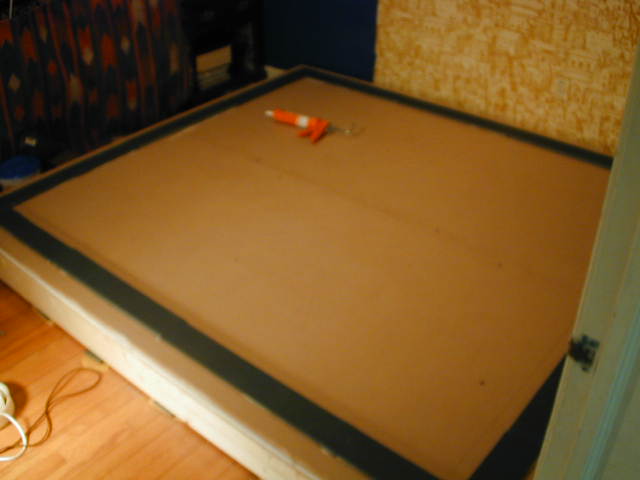
Then we went ahead with cutting and installing the closed-cell, rubber fiber sill plate that would serve as the acoustic float for the 2 x 4 walls there were soon to follow. The sill plate served as the second layer of floating material. When all was said and done, no hard surface from the floor ever touches a hard surface from the walls; the walls accordingly never come in contact with any hard surfaces from the ceiling of the booth. Every surface in the booth is floated so as to transmit as little vibration as possible from one element of the structure to the next.
Continue (page 2) (page 3) (page 4) (page 5) (page 6) (page 7) (page 8) (begin at page 1)

Leave a Reply