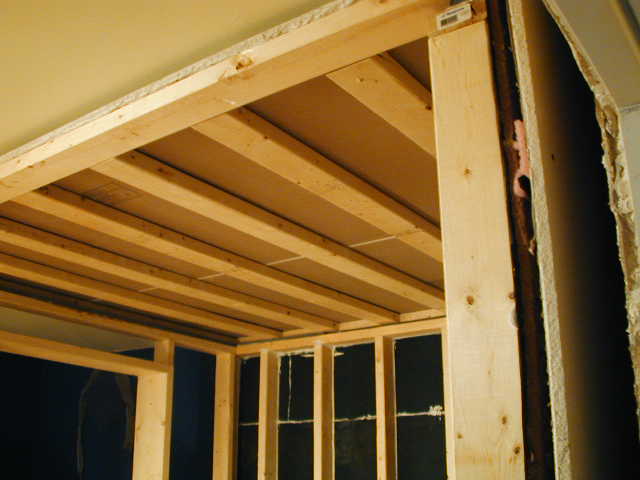
Here we have made a few steps between photos. Both walls are up and in place; the ceiling of the booth was built standing on its side and was lifted into place. Once again it is floating on another layer of closed cell fiber identical to the layer we used for the sill plate. All of the outer edges of the wallboard used for the ceiling were caulked where they met the outer edges of the walls.
You can see where we only used a layer of wallboard for the top of ceiling. We make up for that shortcoming on the inside of the booth. The top was compounded and taped. In the background you can see the beginning of the row of diffusers that line the wall in the compact control area. The window is being framed out and is ready for glass.
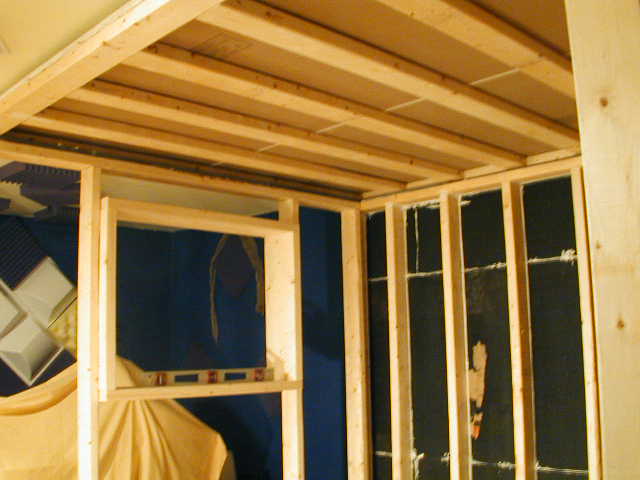
Below is a great example of the tolerance we were dealing with when it came to installing the ceiling. A few missed measurements and this would have been a disaster. Fortunately it worked out.
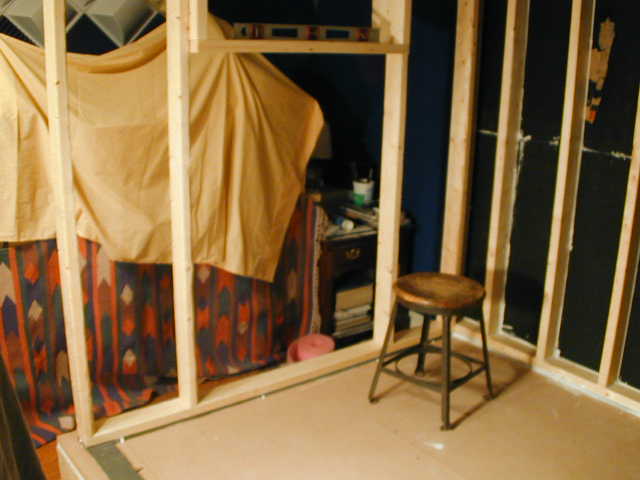
Under the blanket are all of the electronics that were brand new for the most part. Filling them with construction dust was not part of the plan.
We made a trip to the local glass store to pick up 1/4 inch thick tempered safety glass. It is a double panel set with the incline on the booth side.
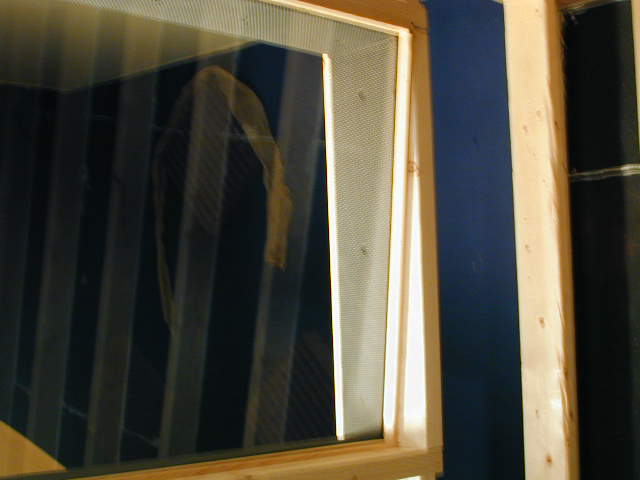
More closed fiber rubber handles the in-window absorption and the edges of the glass were carefully caulked to keep the caulk from smudging all over the window when we set it in place. It is as close to airtight as we could make it.
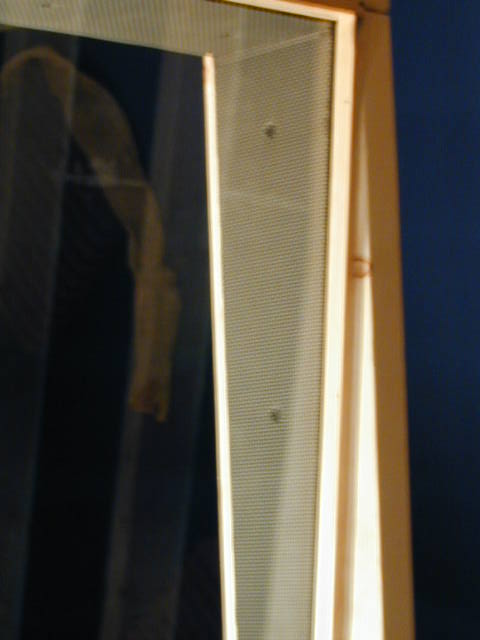

Below is a clear picture of the final product. We took a lot of time getting the window right. After all, it’s the one thing you are always going to see. The window glass arrived clean, but was cleaned again and installed while wearing rubber gloves so it wouldn’t be covered with fingerprints. The glass was actually rested for a while until it came to room temperature so it wouldn’t fog after it was sealed. There would have been no place for the moisture to go. Picky, aren’t we…
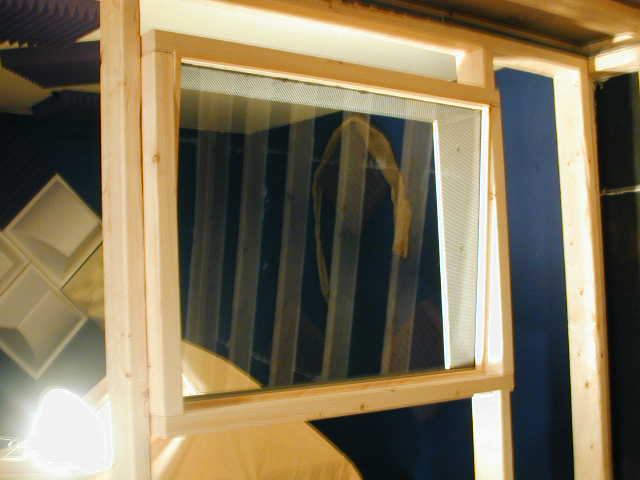
Next, you can see the asphalt is up on the control-side wall. The same process was repeated over and over again for each surface of the booth – in the same order inside and out.
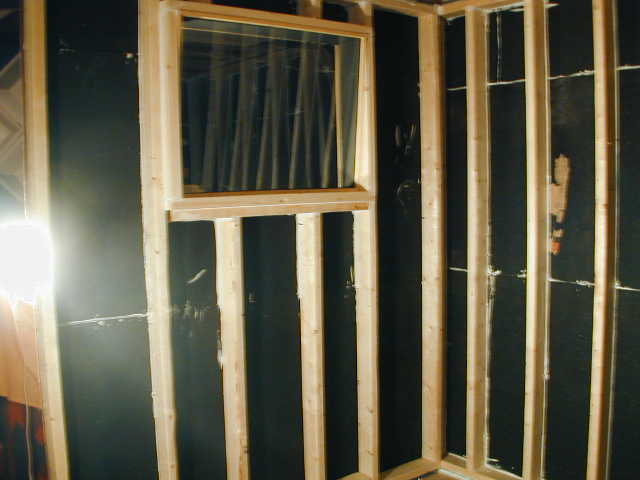
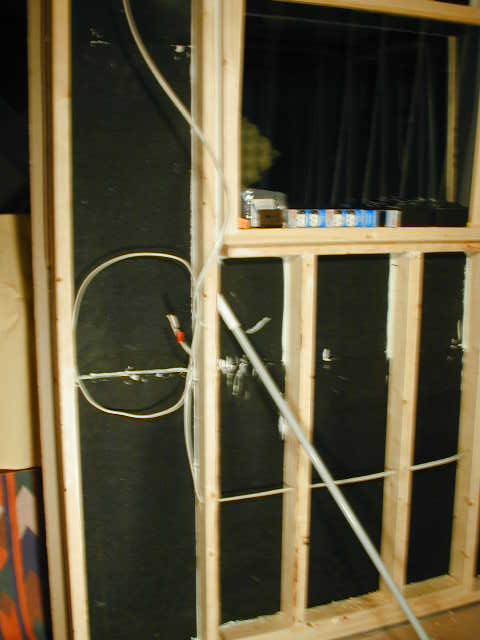
Here you can see the beginnings of the 10 gauge electric wiring that now feeds the lighting and two exterior outlets that were installed in the booth because of their waterproof and subsequently airproof design. Remember that sound travels in, on and through everything, including air which is why a sound isolation booth wont be soundproof until it’s air tight.
Continue (page 2) (page 3) (page 4) (page 5) (page 6) (page 7) (page 8) (begin at page 1)

Leave a Reply