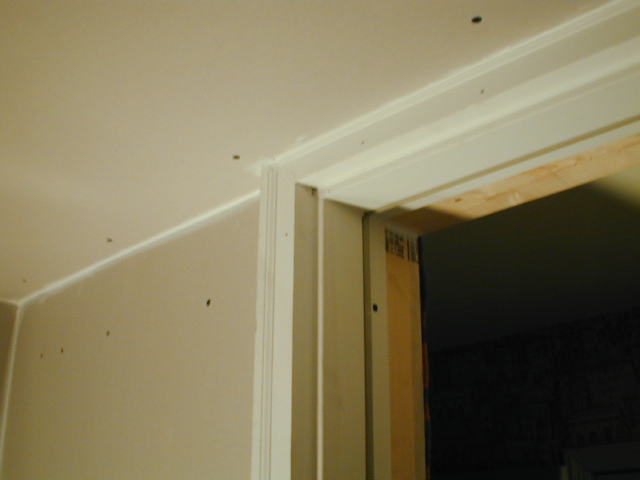
Now all of the wallboard is going up. All of the cut edges of the wallboard were placed to the outer edges and concealed behind the next layer of wallboard that had the factory edge lined up with the bare wall. This way all of the seams were tight. There are no cut edges exposed inside the booth with the exception of the edges surrounding the window in the following photo. All of the others were factory edges placed with as tight a fit as possible, then sealed with caulk and taped over. In some of these photos you can see that the ceiling is still bare and then it is not. As promised earlier we will address the solution for the ceiling on the next page.
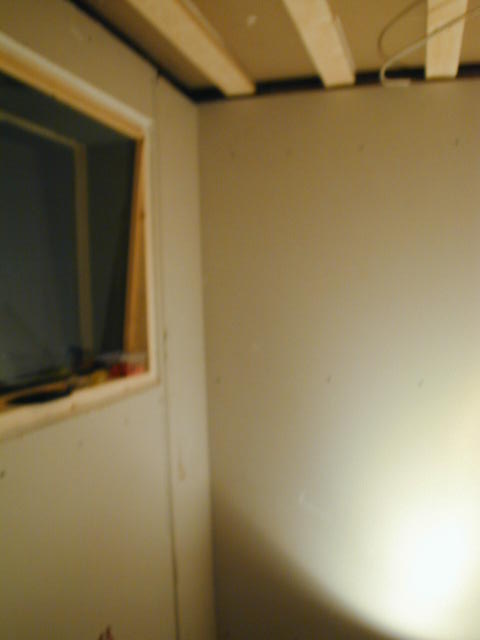
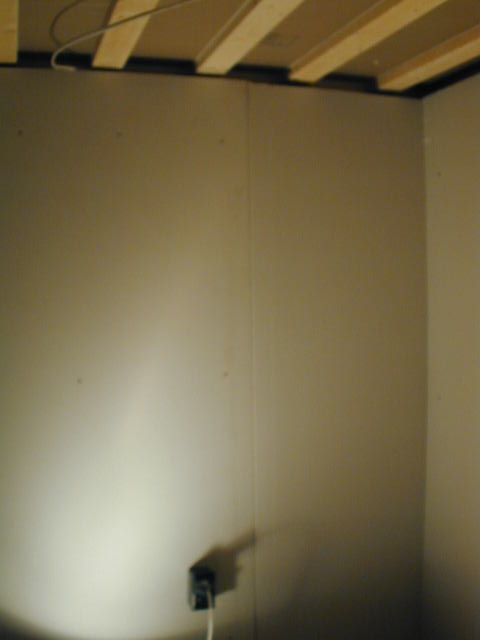
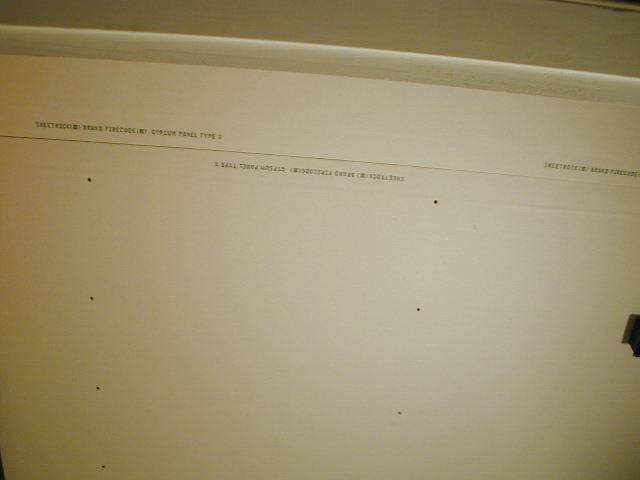
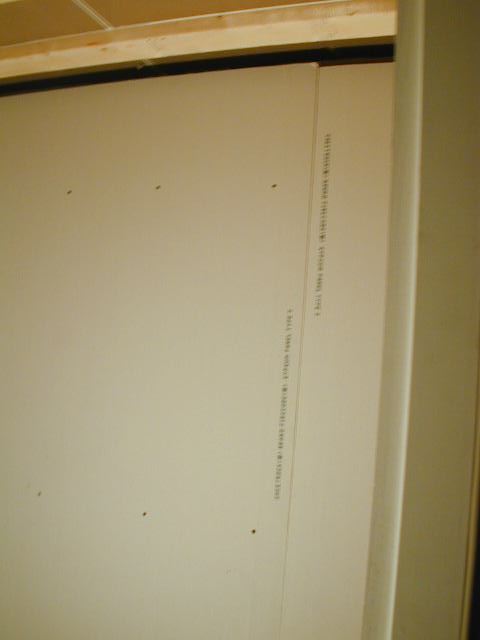
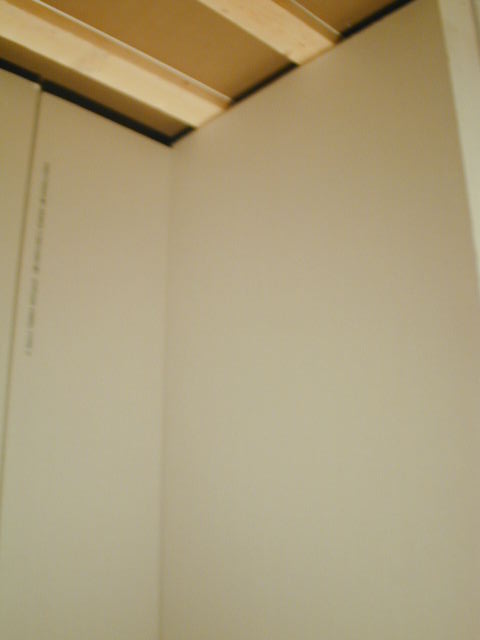
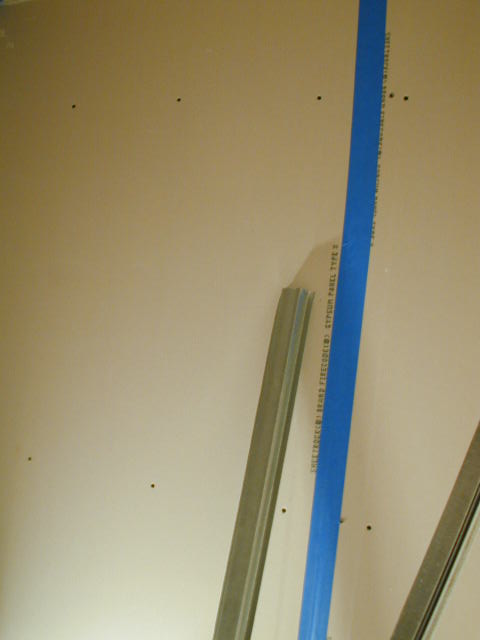

The wiring for the isolation booth lighting is still hanging there, ever so lonely. You can see the benefit of making all the seams factory edges. They are tight, very easy to seal and make the job of doing the final isolation so much easier and less messy.
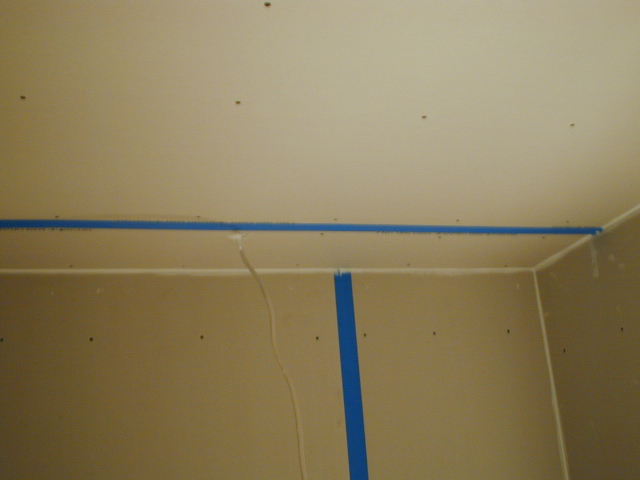
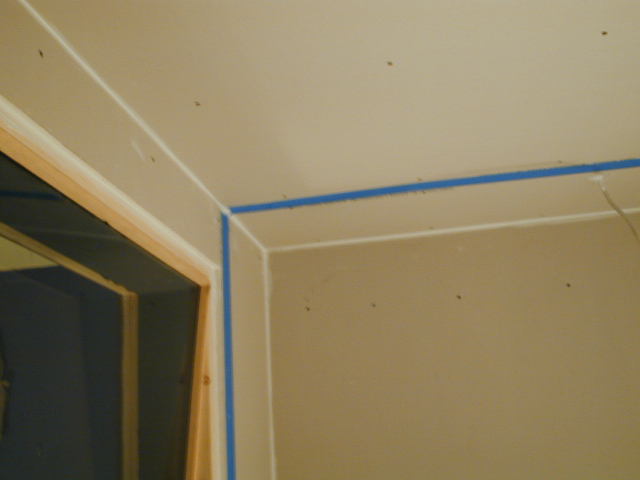
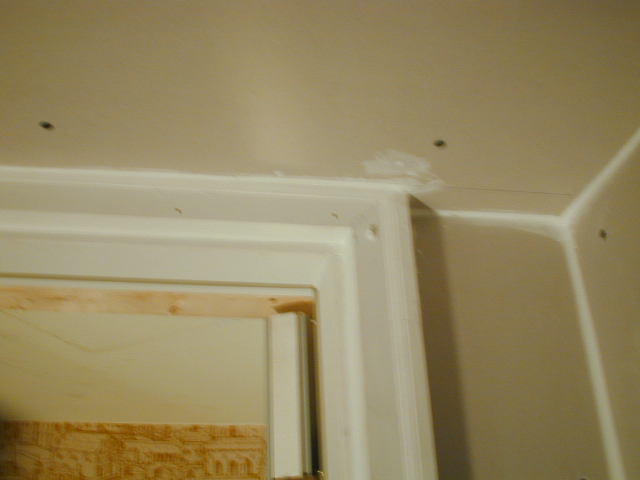
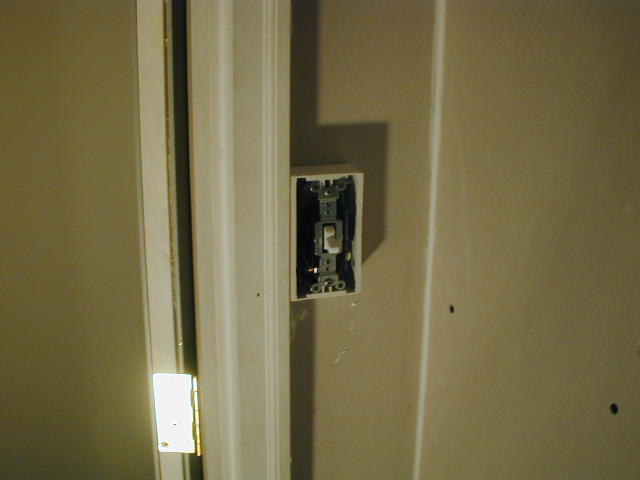
In this photo you can see the final thickness of the walls. Almost 10 inches of multi-layer, fully floated, independent standing walls that do not come in direct contact with the sound isolation booth foundation or the surrounding structure. Now lets move on to the ceiling solution and the acoustic foam treatment as well as the rest of the finishing touches.
Continue (page 2) (page 3) (page 4) (page 5) (page 6) (page 7) (page 8) (begin at page 1)

Leave a Reply